Putra turbo "Clearance Issue"-fabricate/custom-post ur pics here

virqai

Known Member
Senior Member
Joined
Dec 30, 2010
Messages
206
Points
1,563
Location
Kuala Lumpur
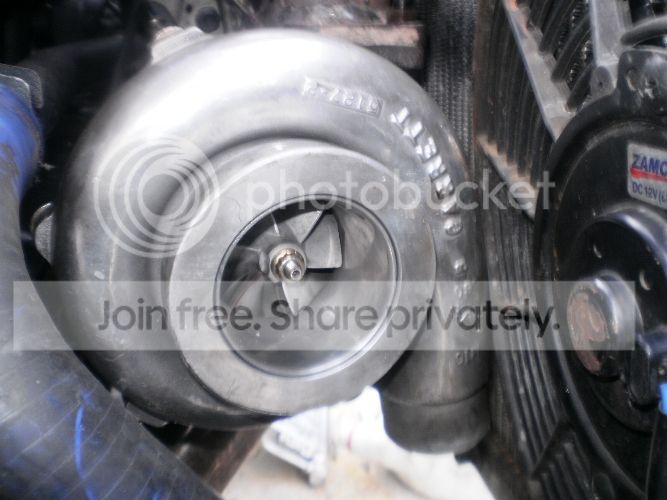
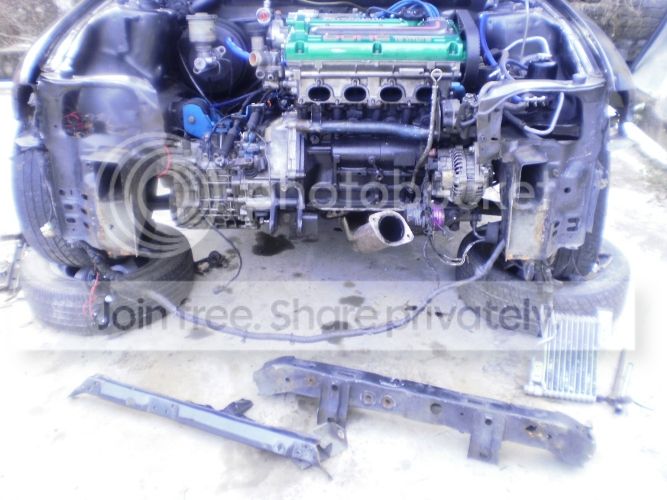
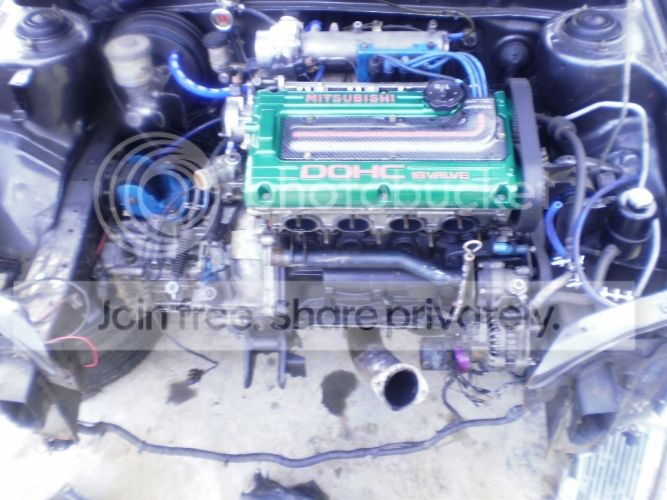
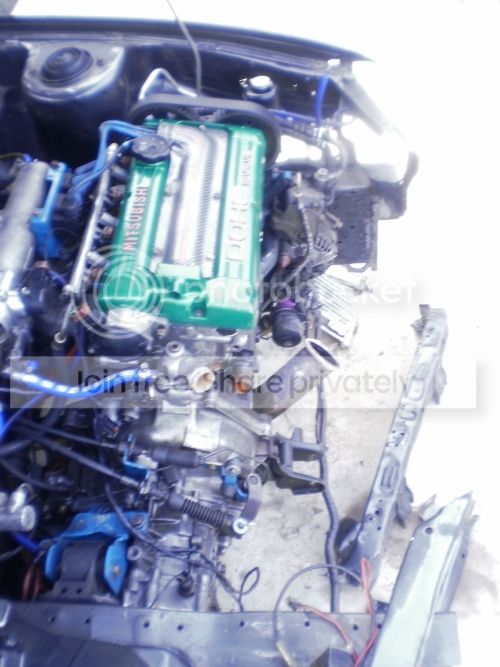
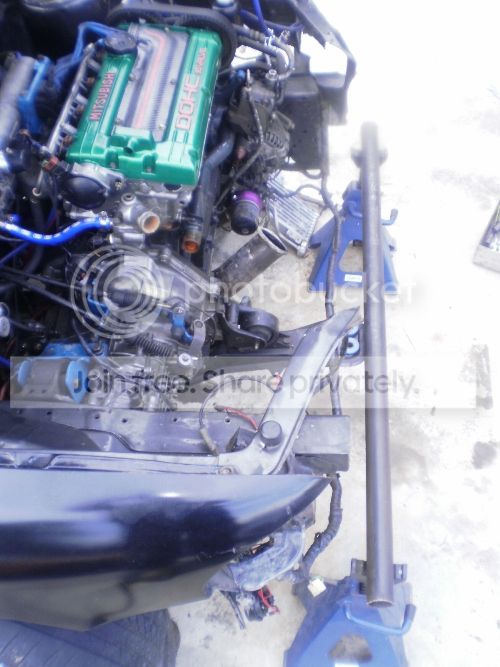
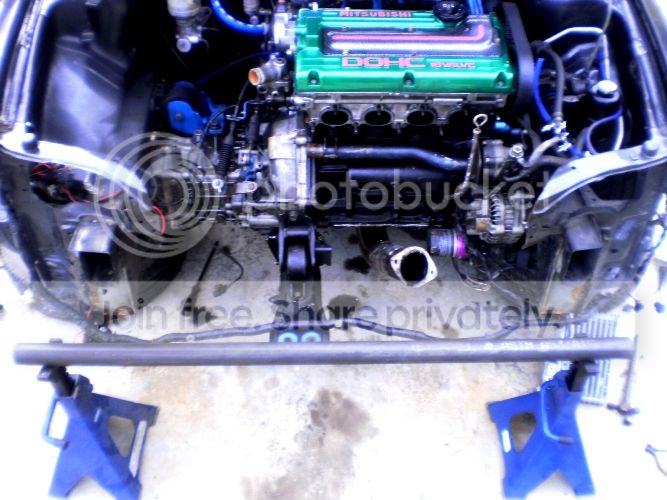
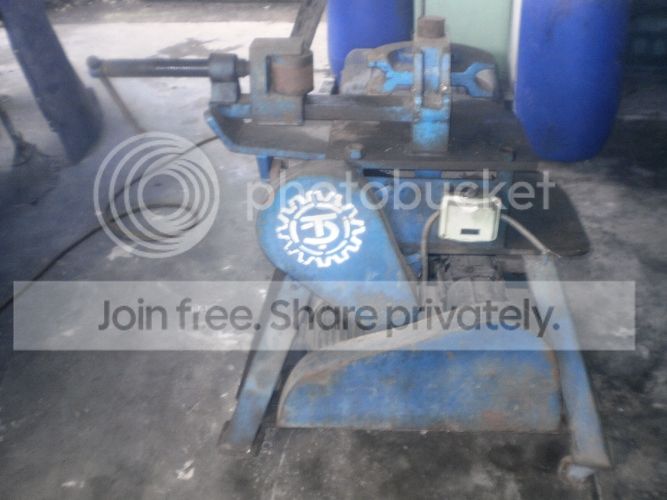
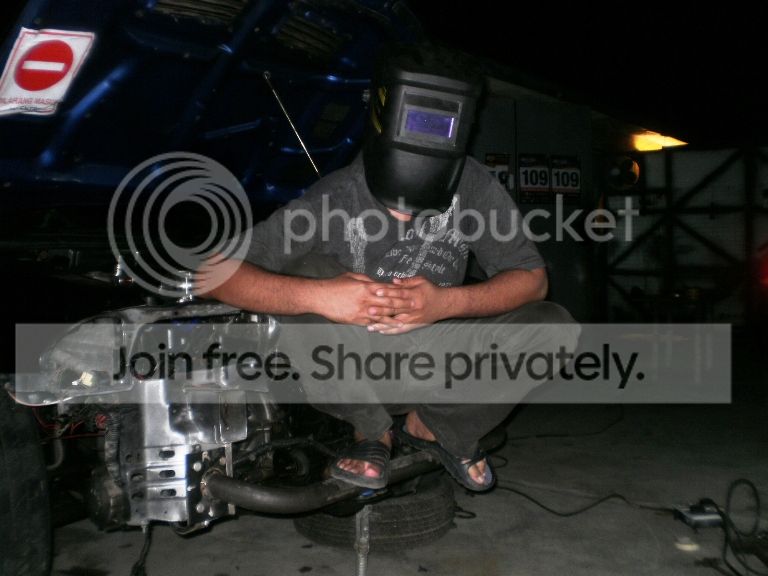
Is this what always happen when proton turbo go for big turbo and radiator....perggggh...this guys my friend,open his car hood, then till now i cant say anything...hope all sifu here can help..pics more help.

ha..ha..ha..ha
P1011116.jpg


hu..hu..hu..hu
P1011112.jpg


ho..ho.ho..ho
P1011114.jpg


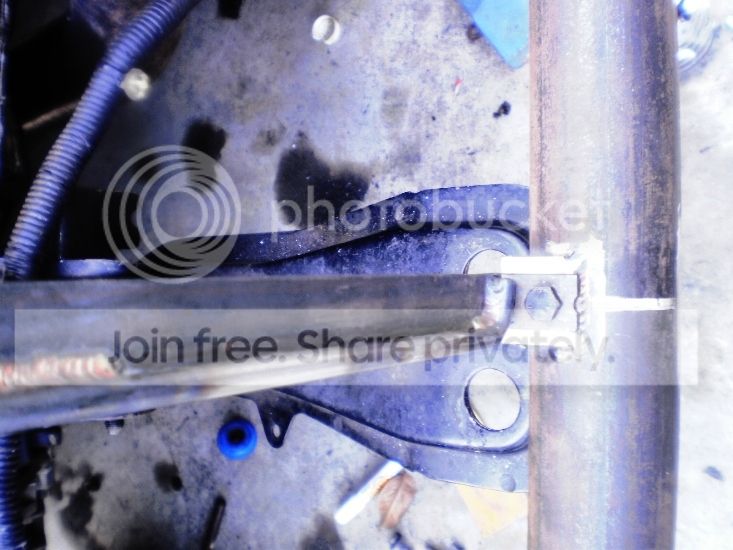
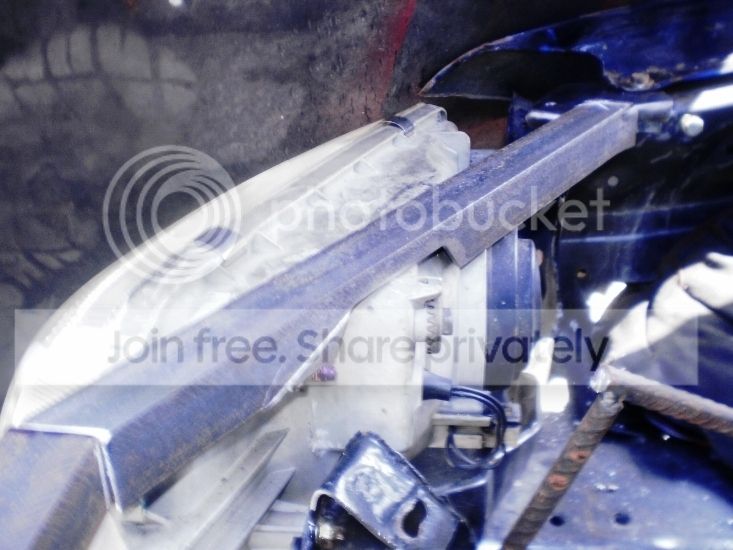
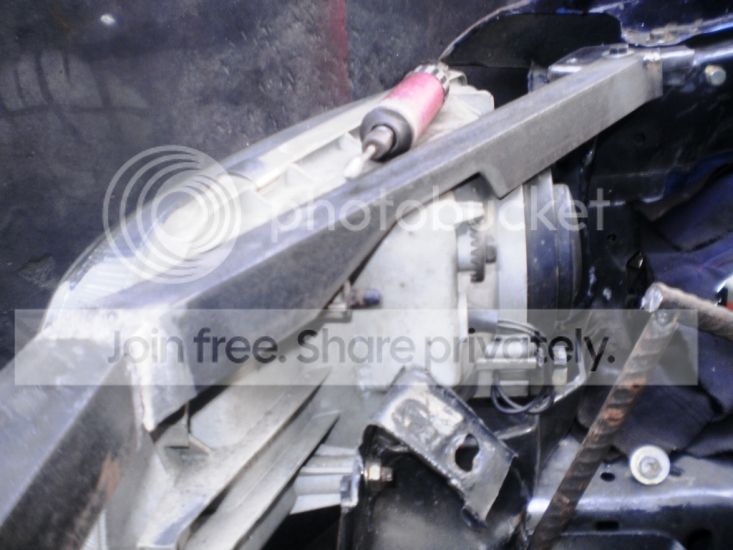
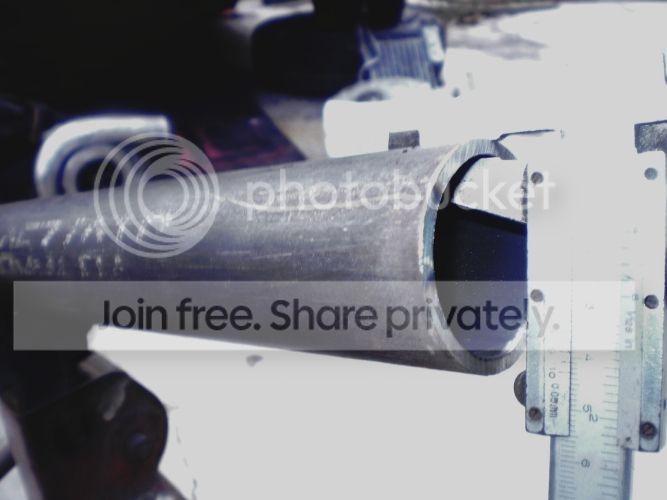
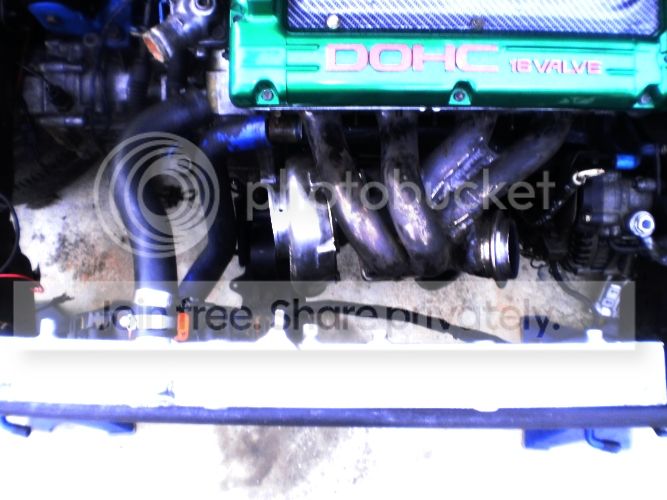
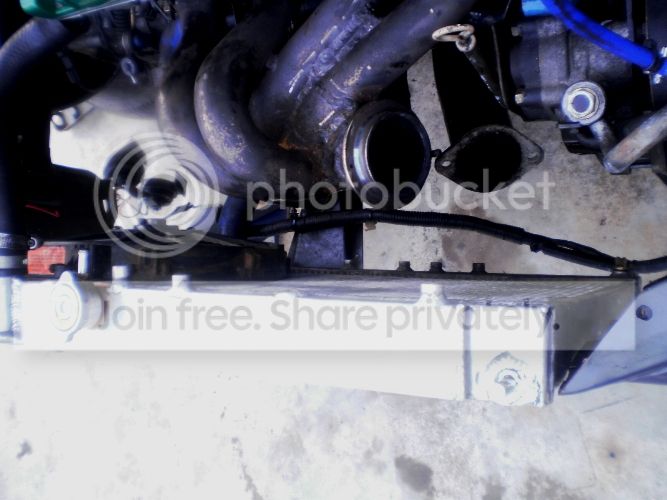
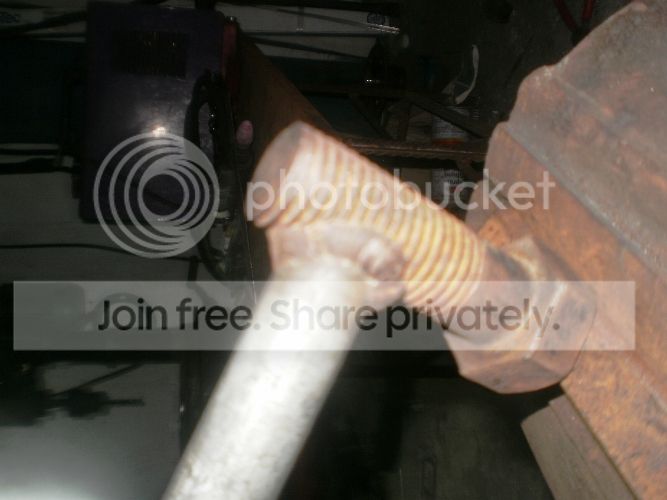
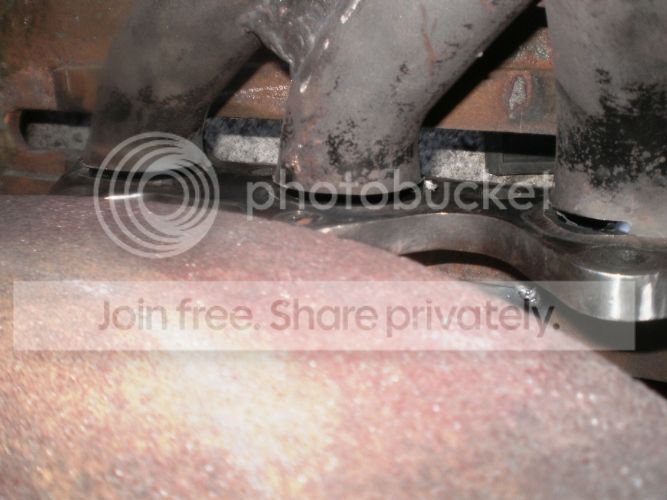
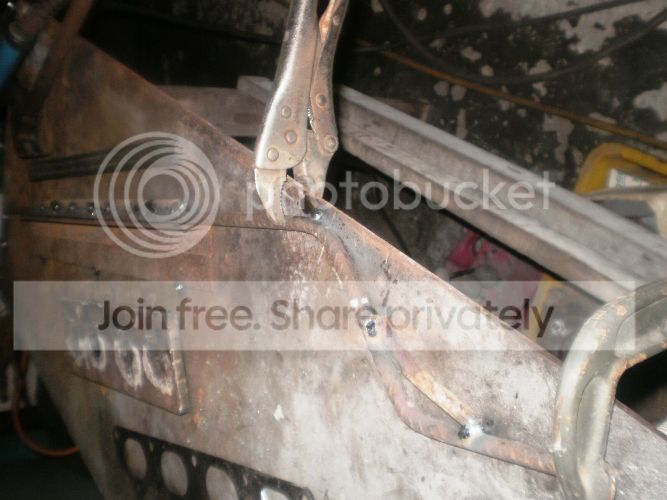
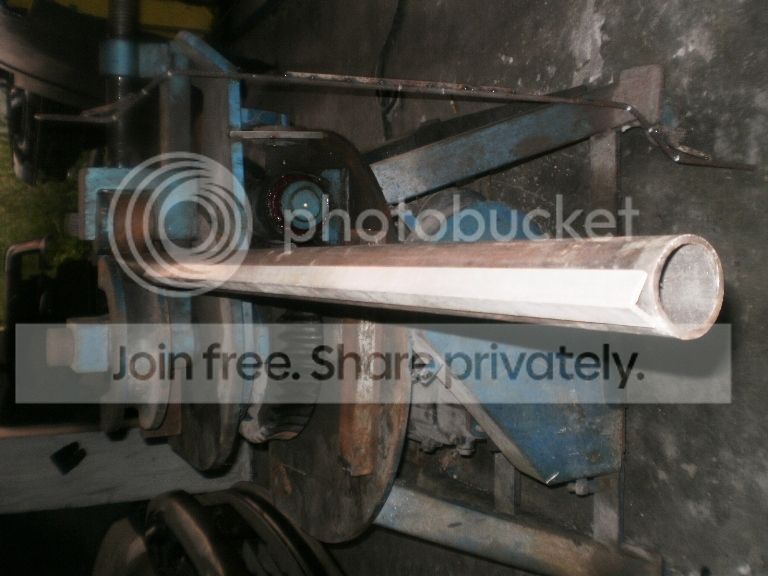
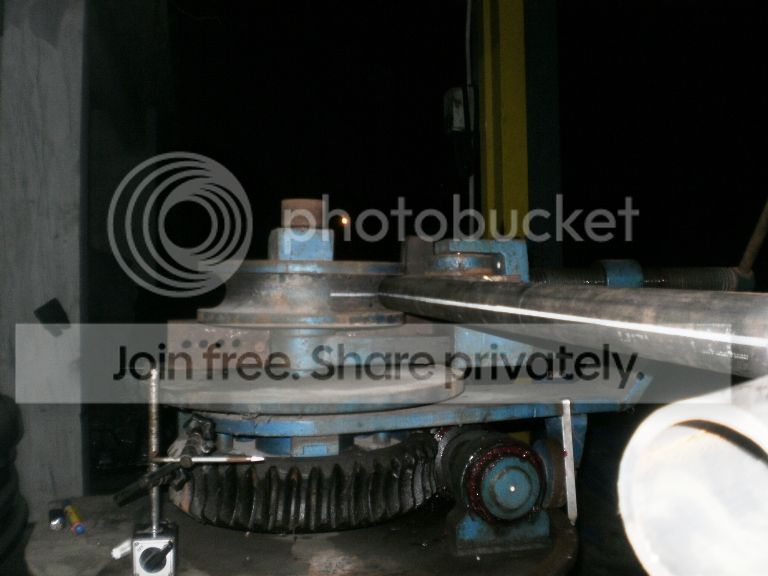
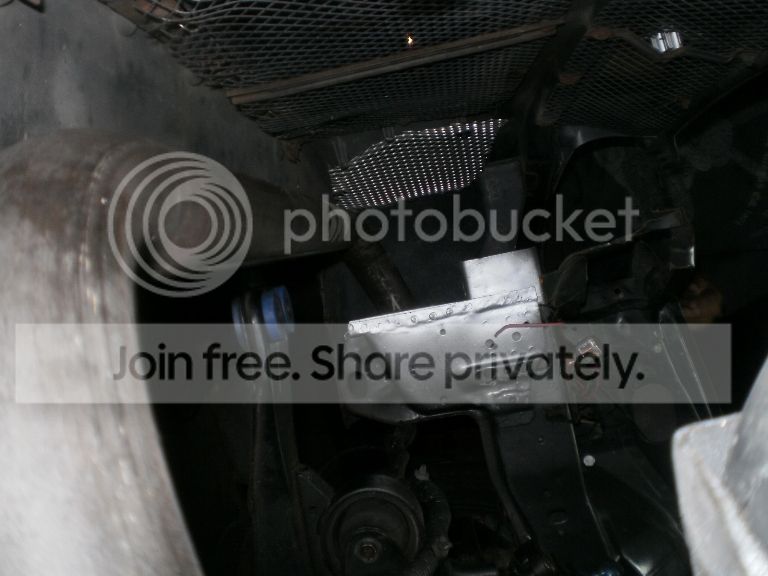
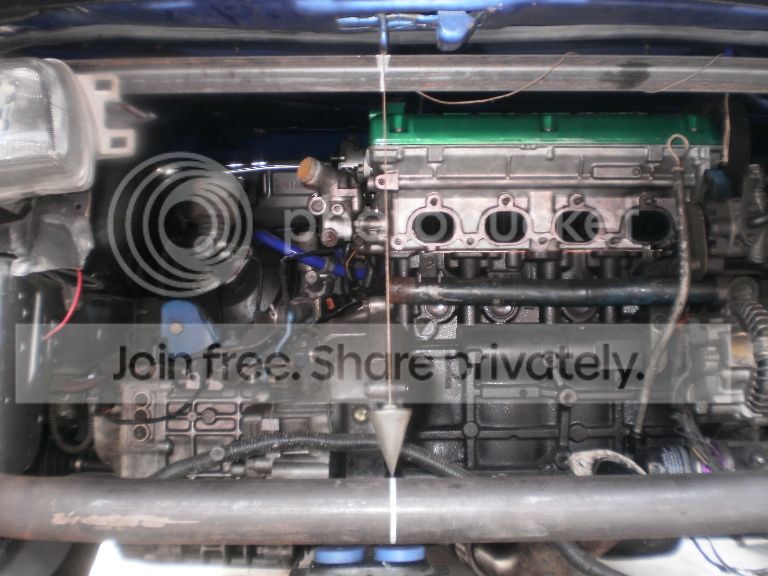
he..he..he..i keep thinking what special tool can open this filter...20pound hammer? a bit can say now
P1011109.jpg

P1011111.jpg

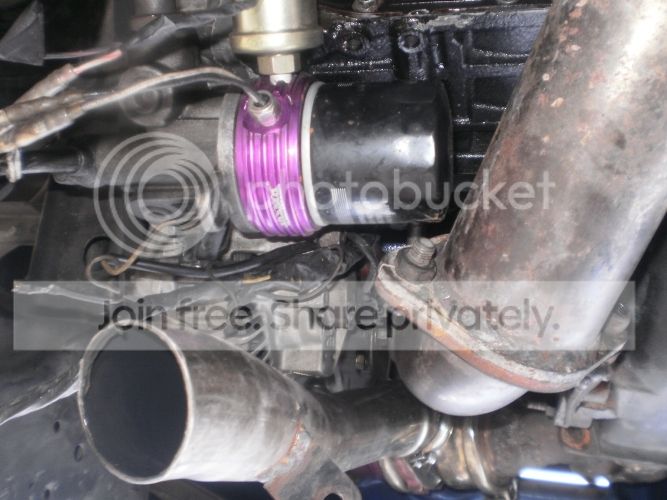
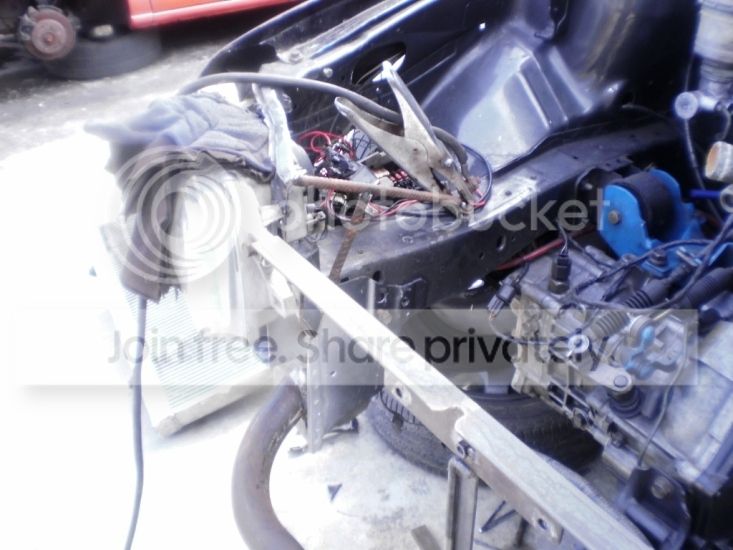
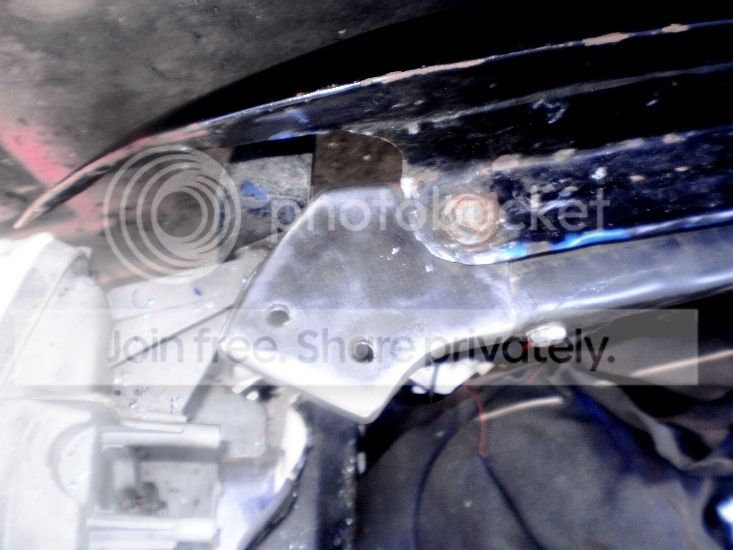
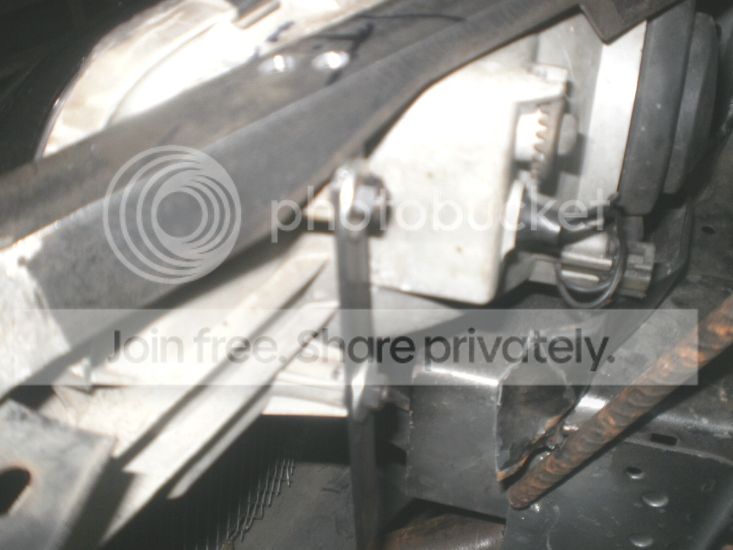
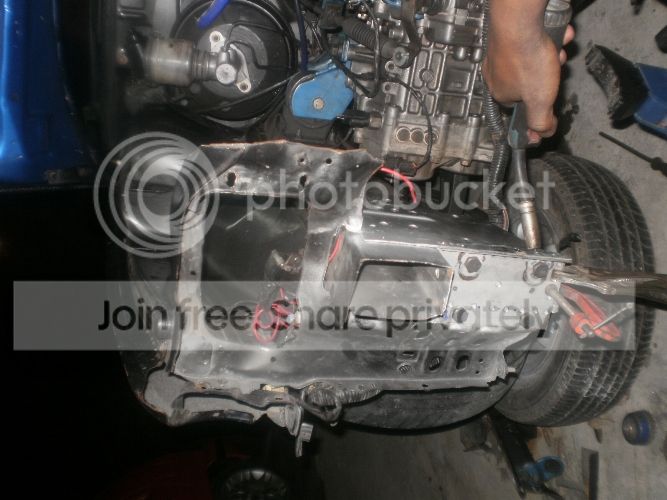
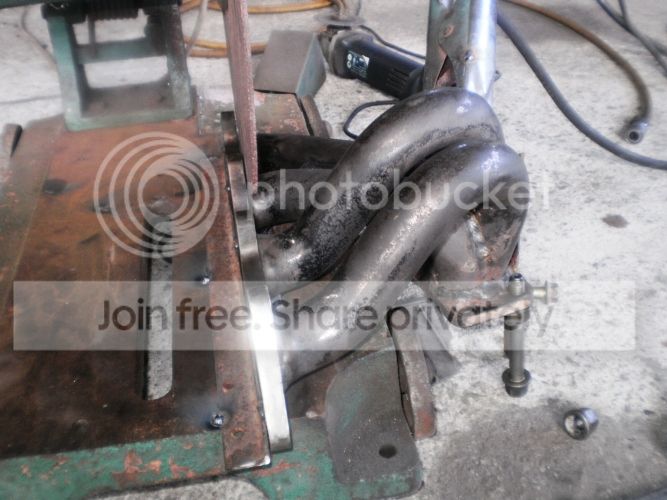
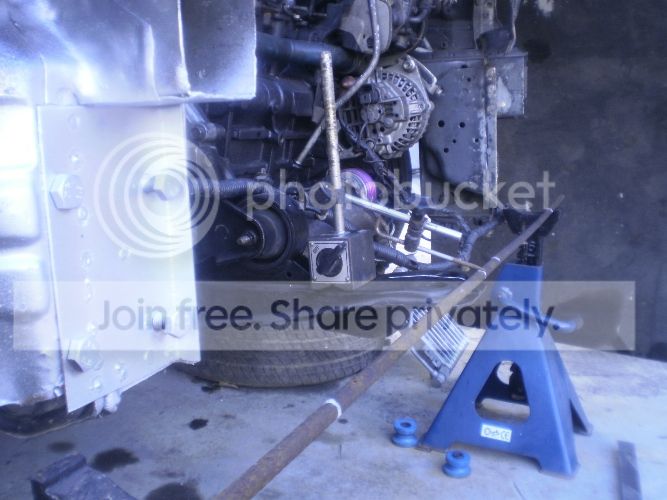
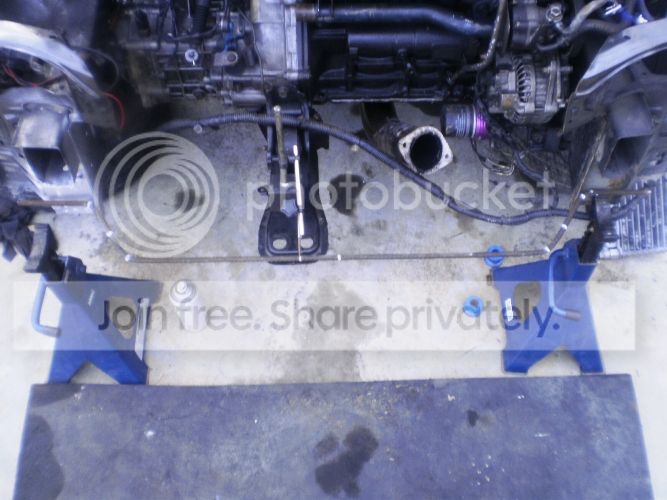
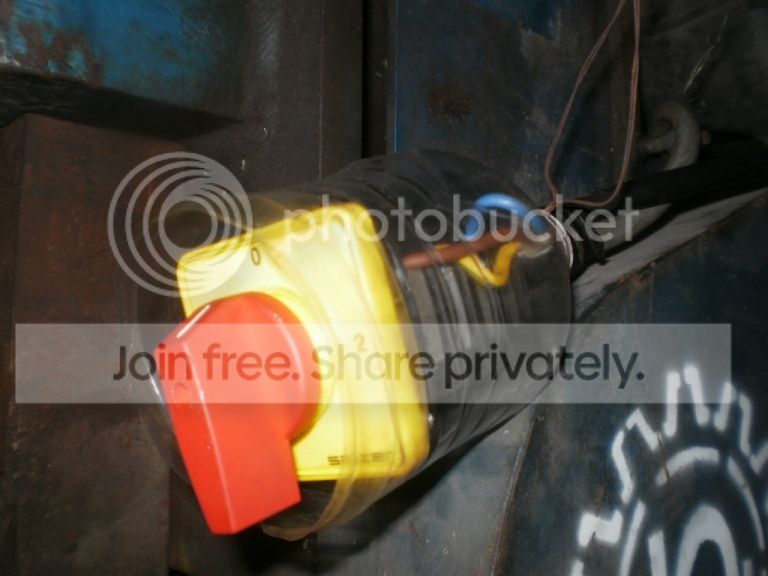
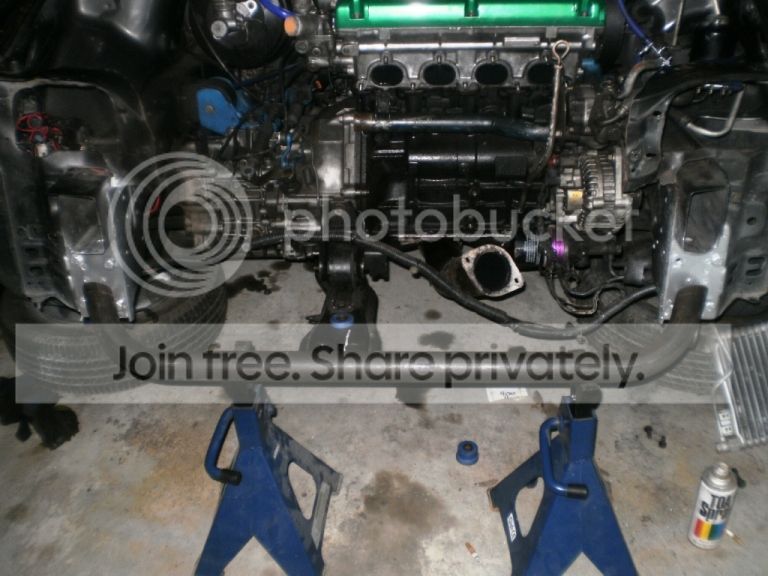
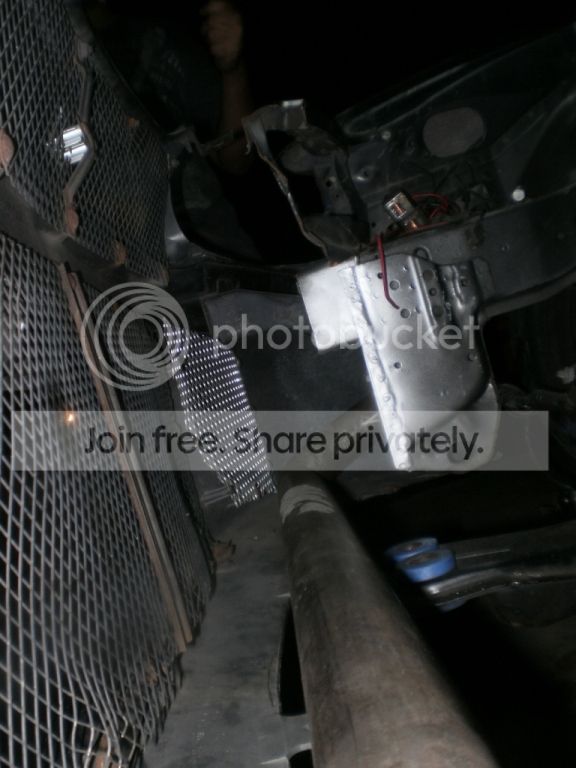
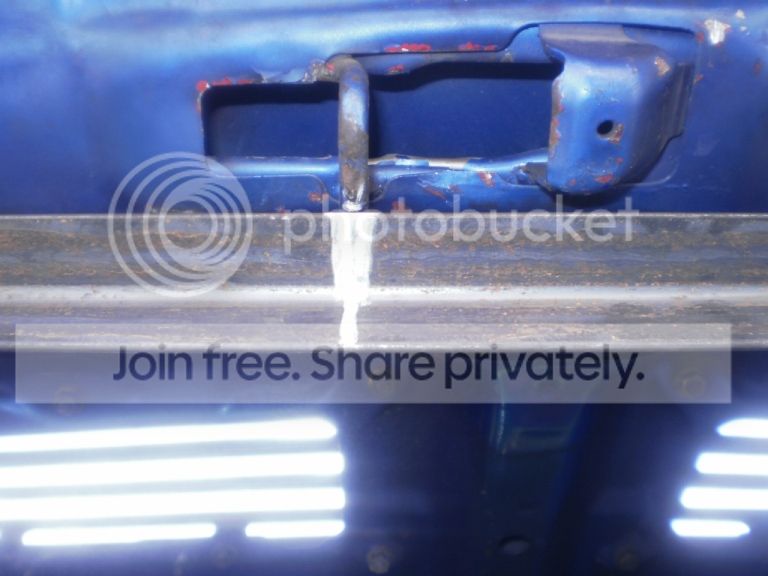
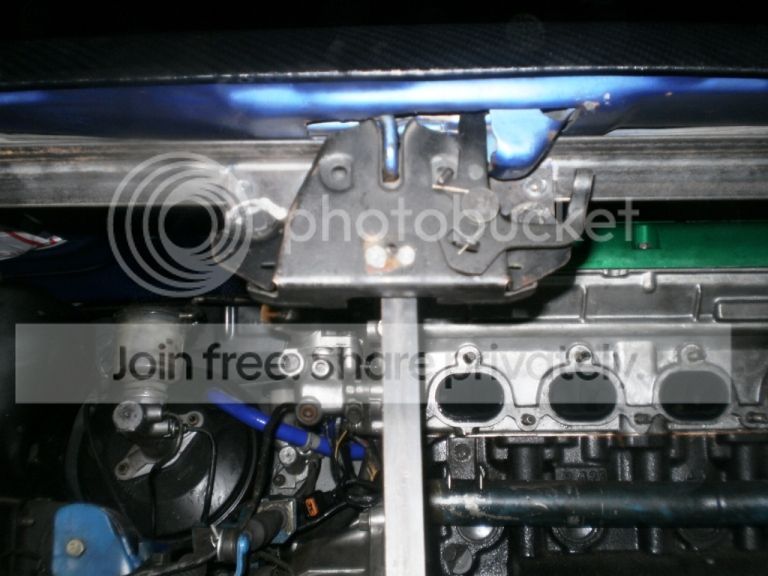
is this sensor just can simpley put after turbo like this...or have any any distance seat?
P1011117.jpg


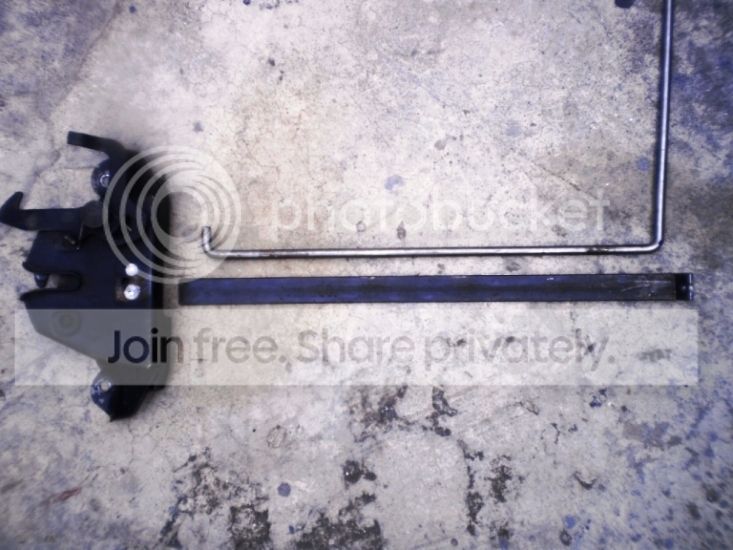
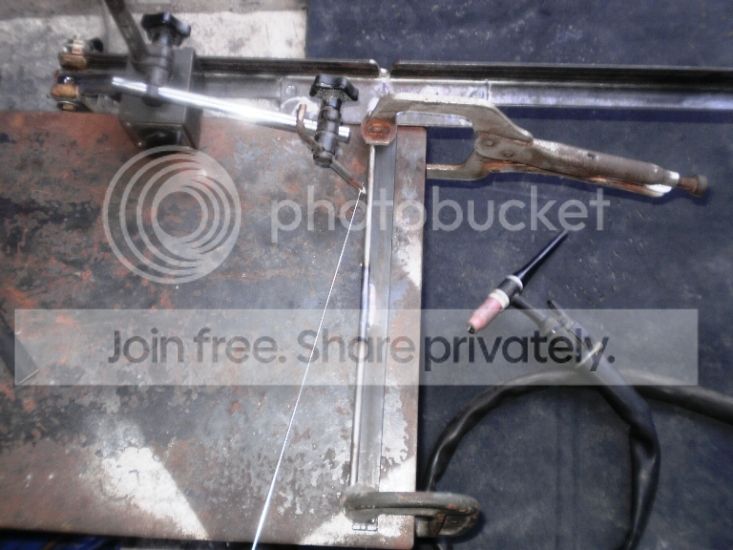
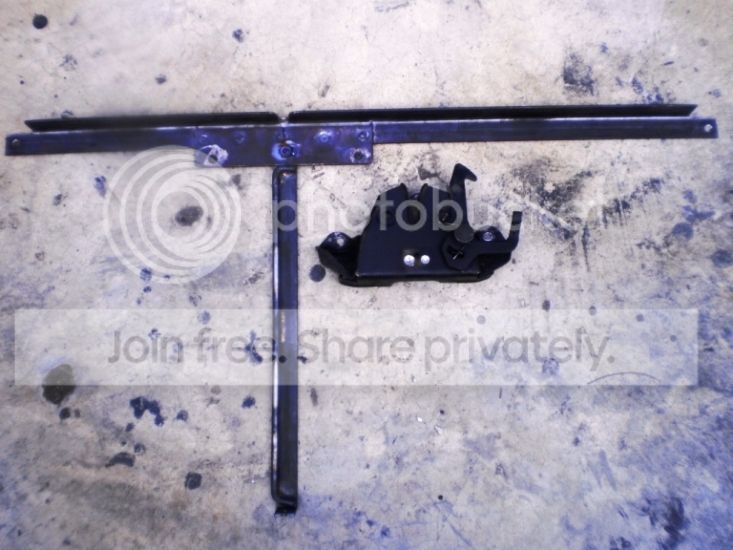
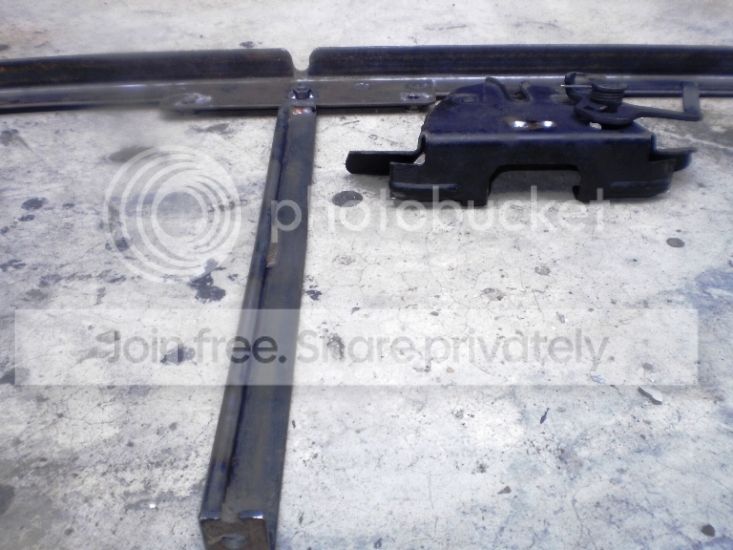
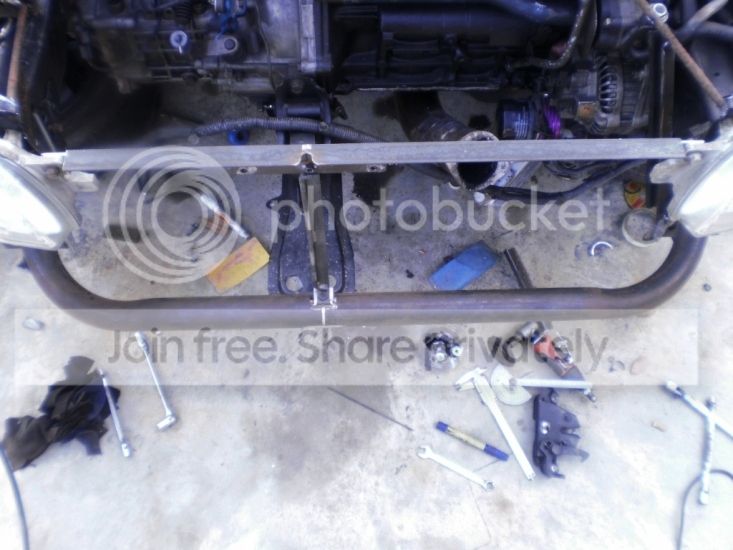
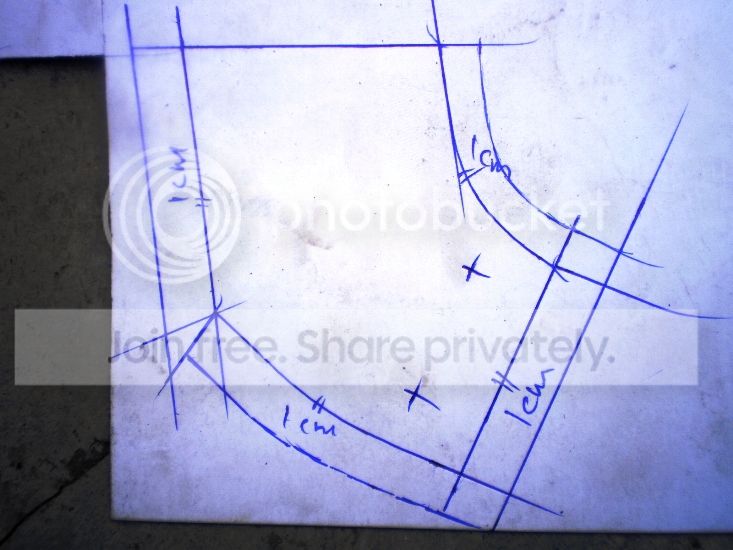
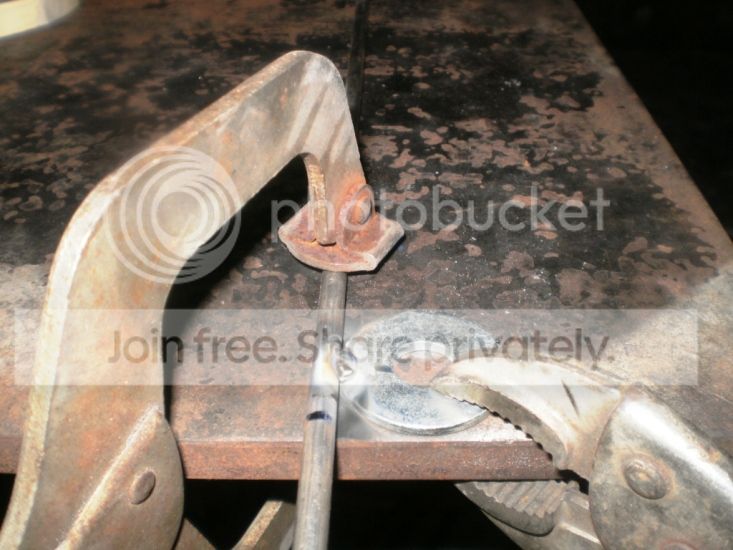
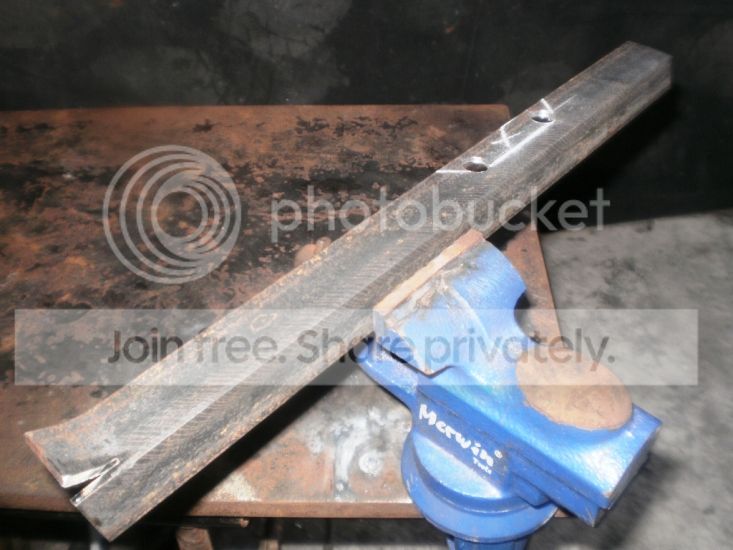
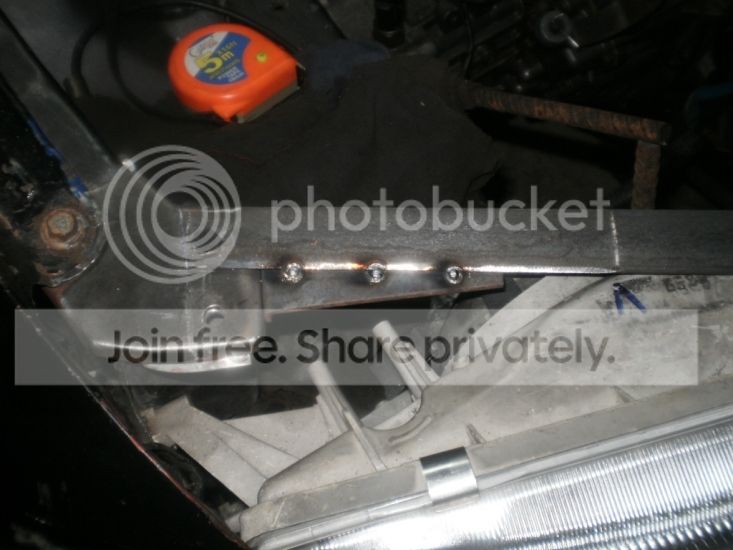
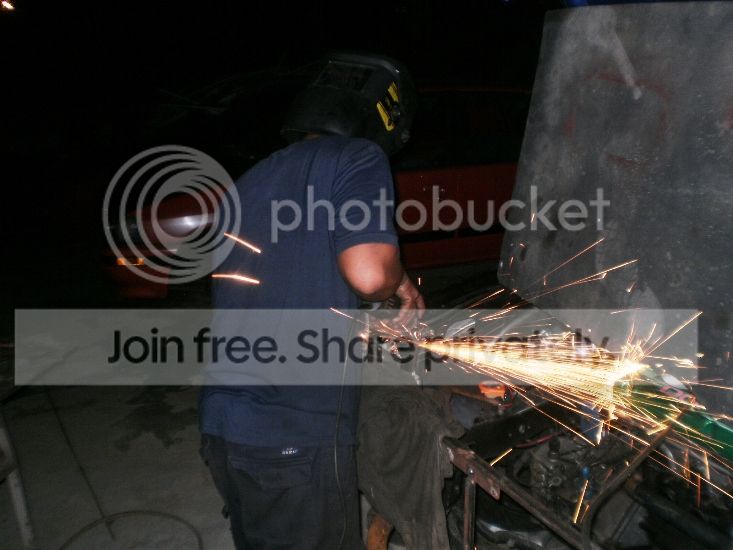
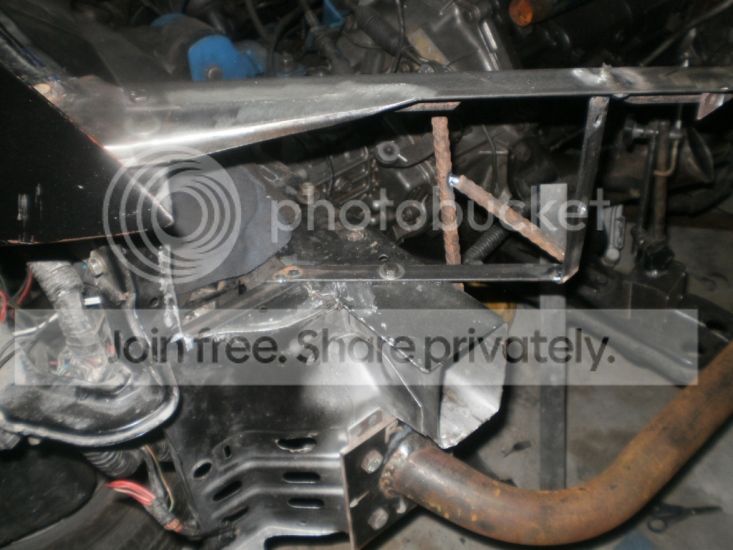
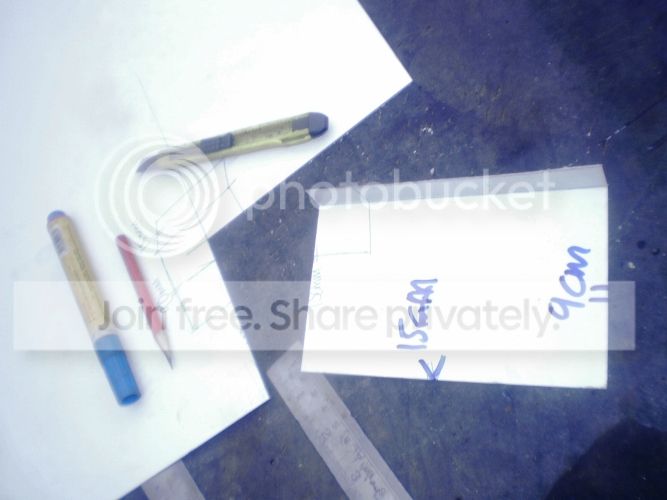
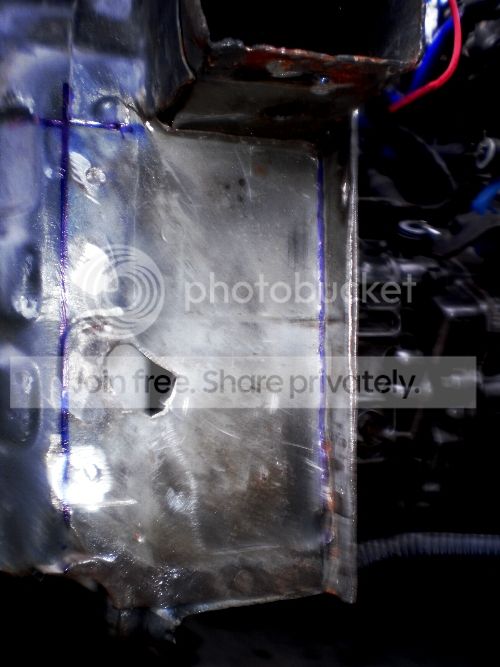
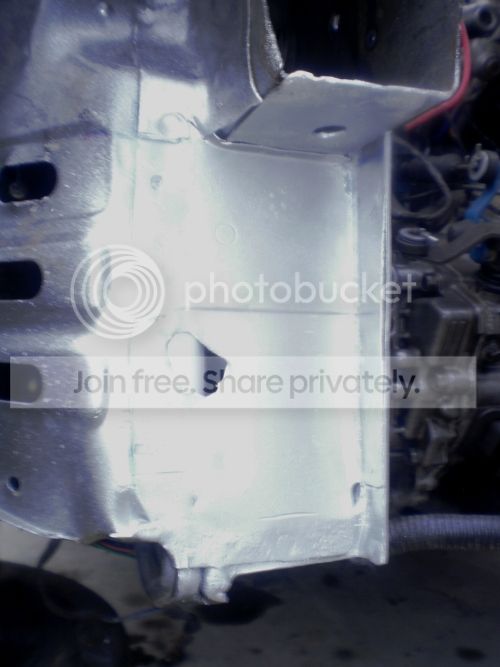
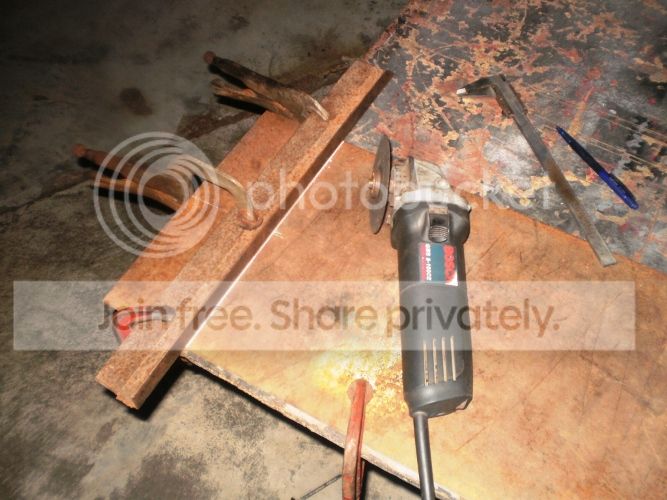
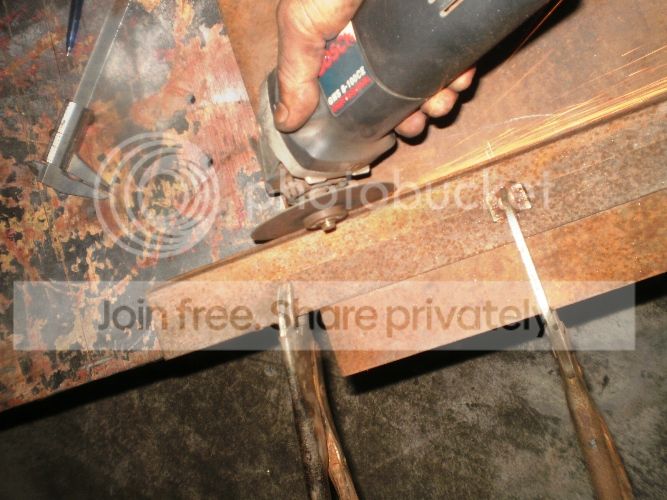
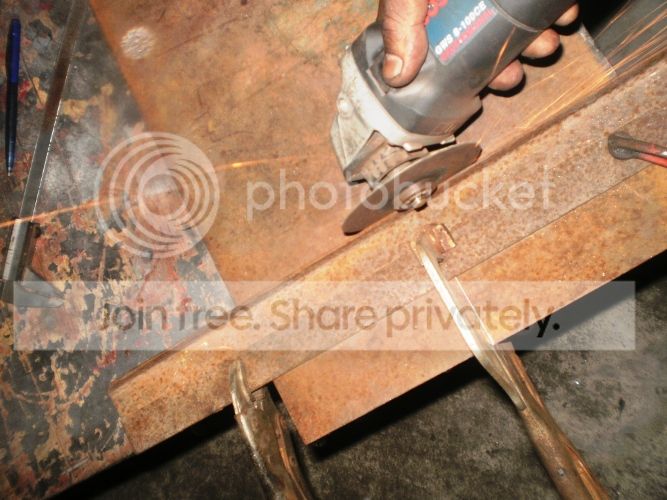
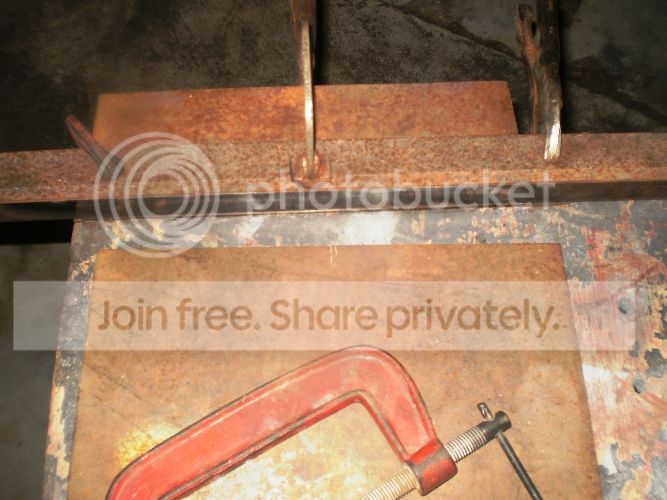
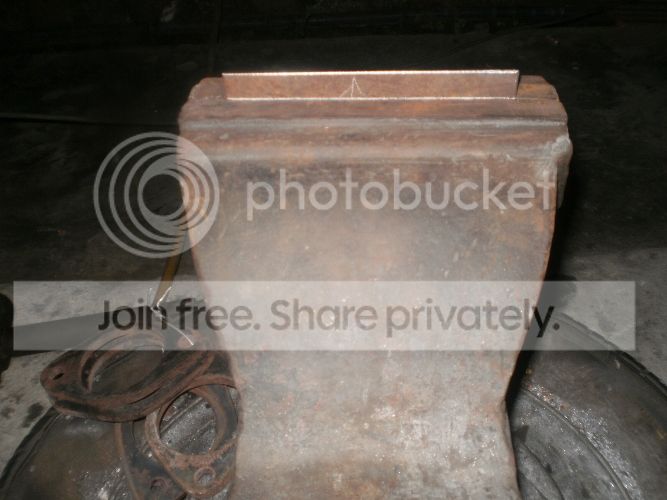
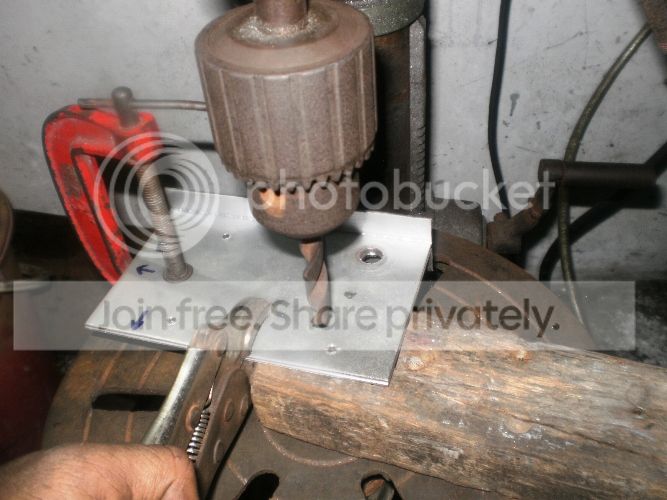
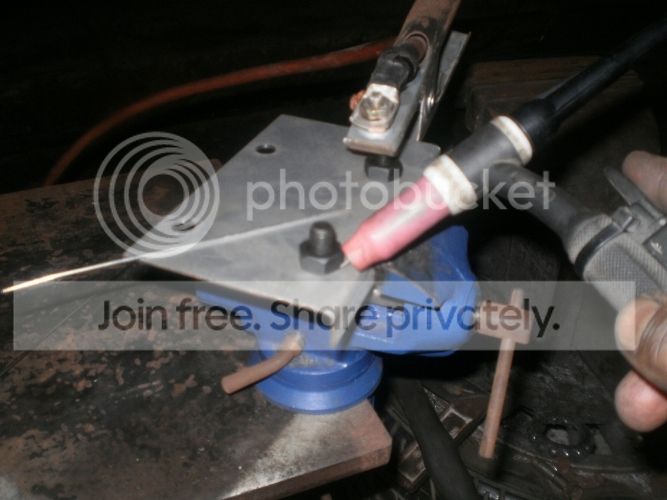
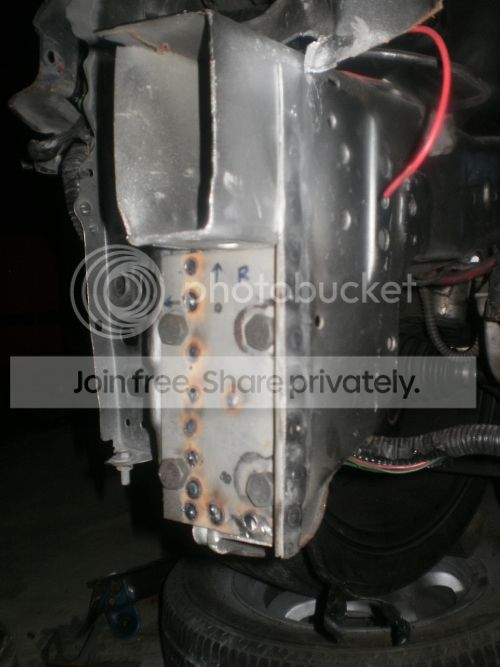
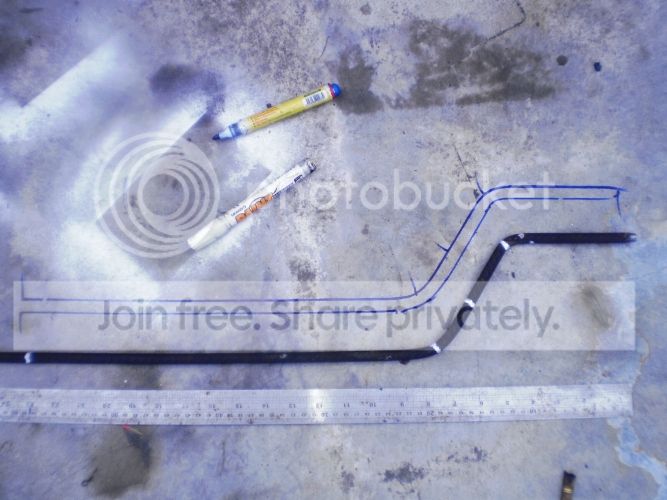
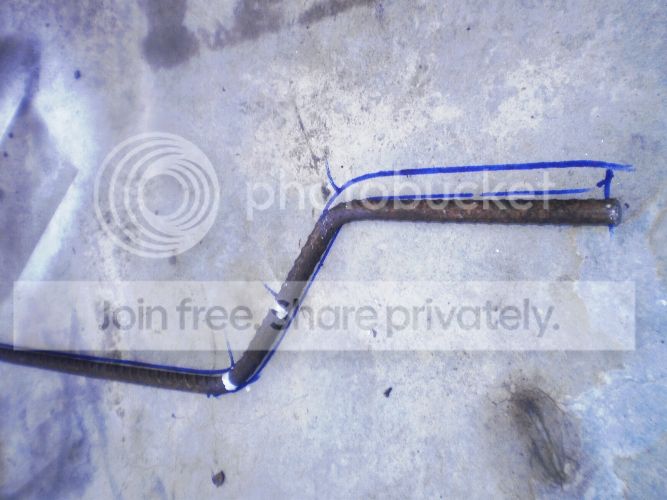
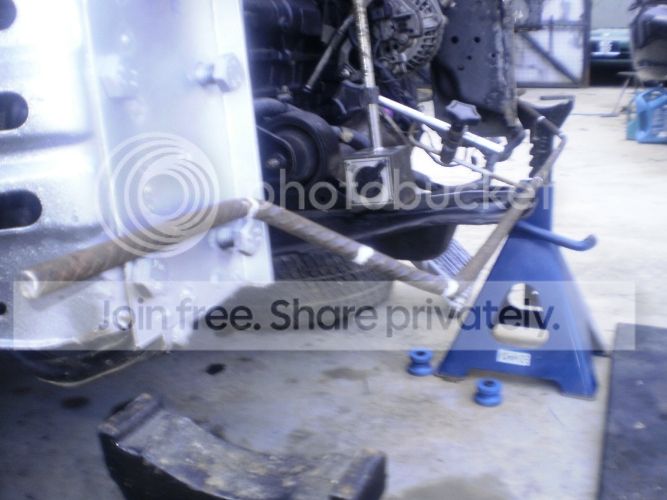
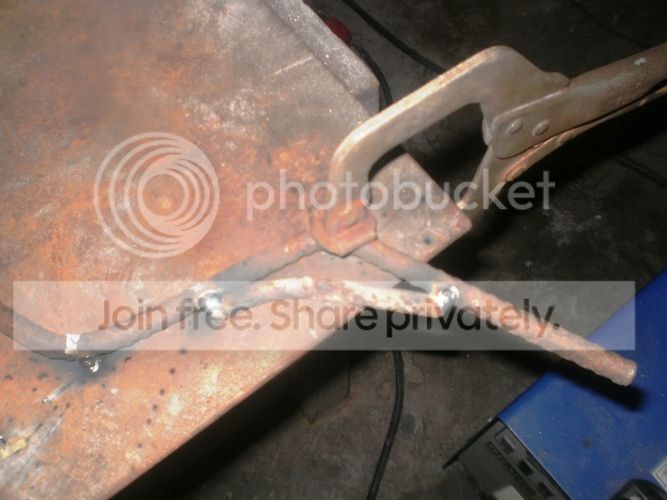
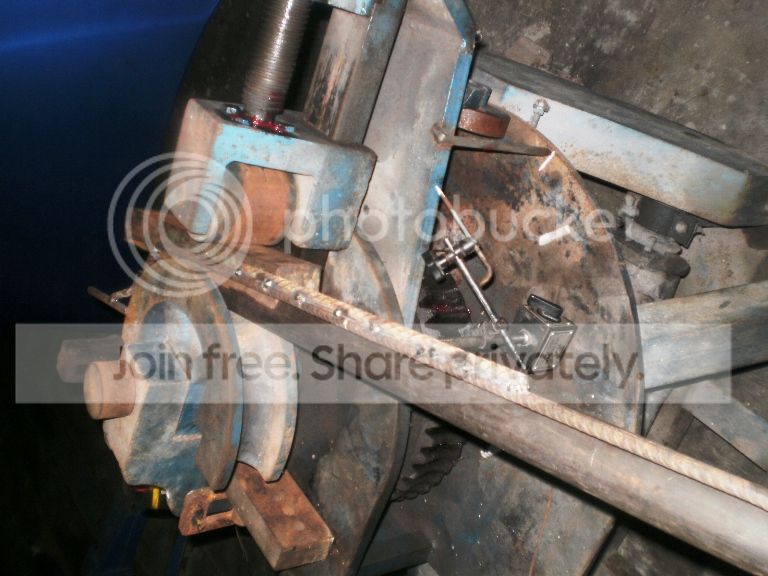
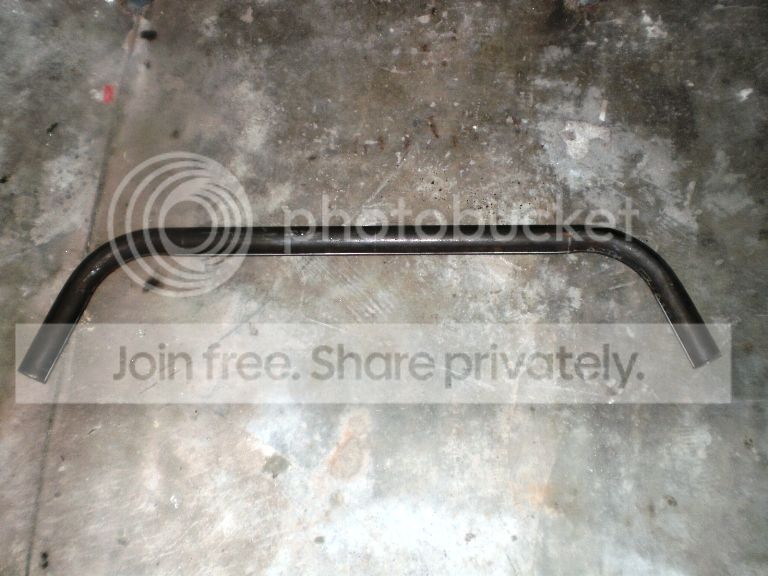
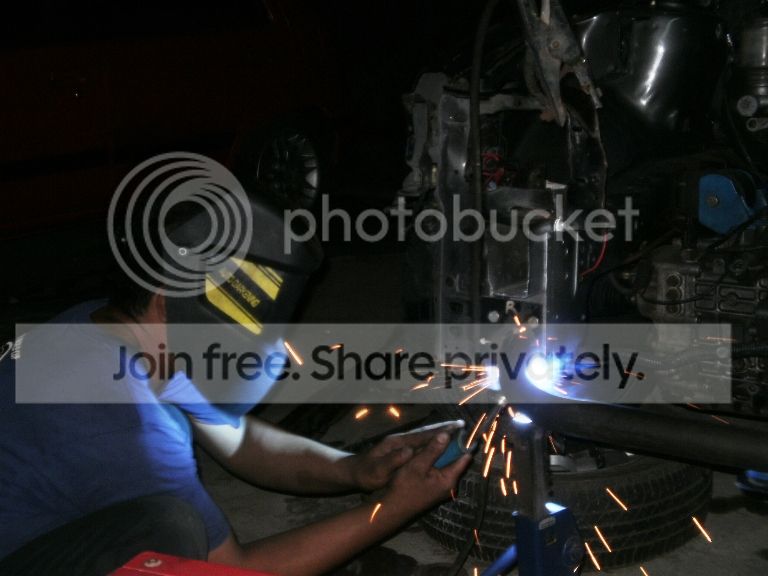
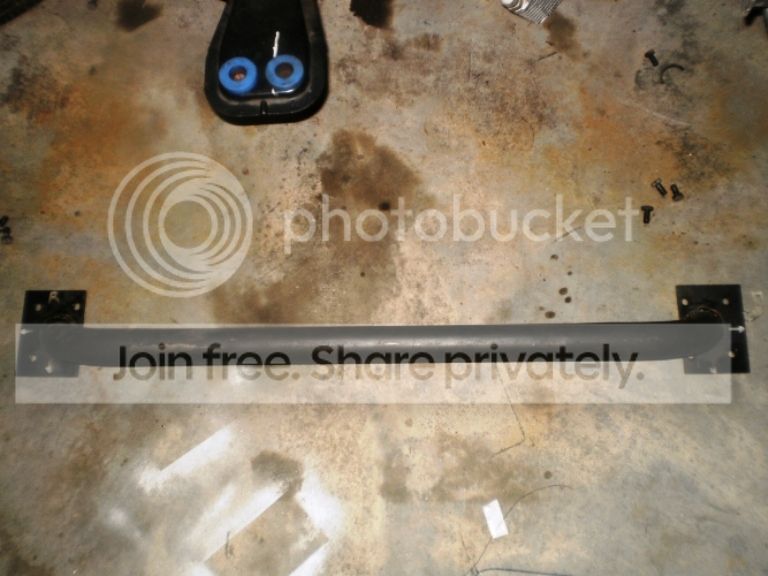
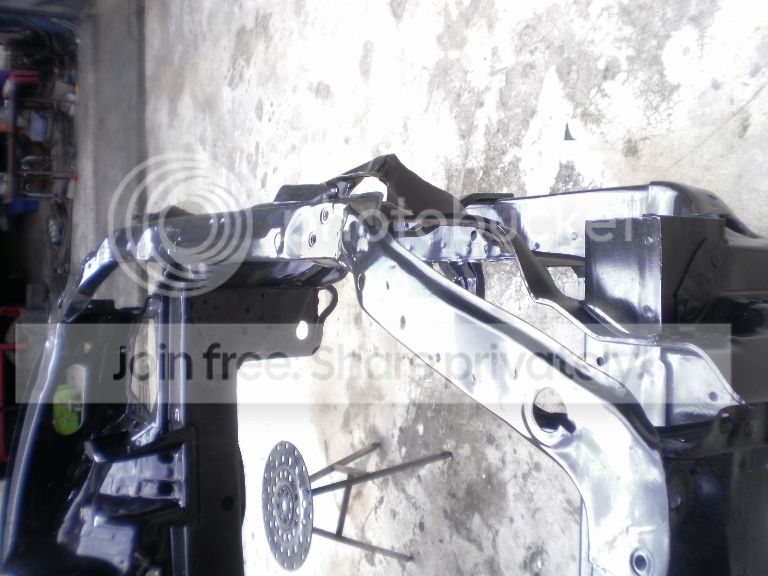
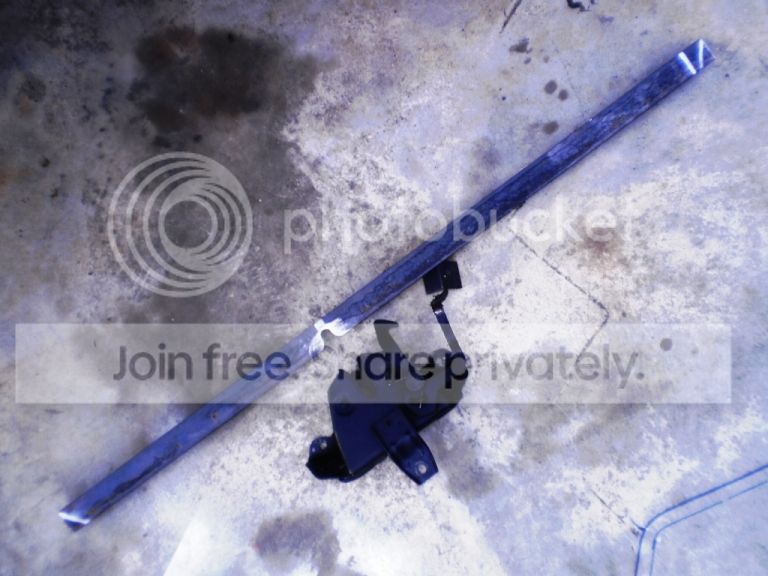
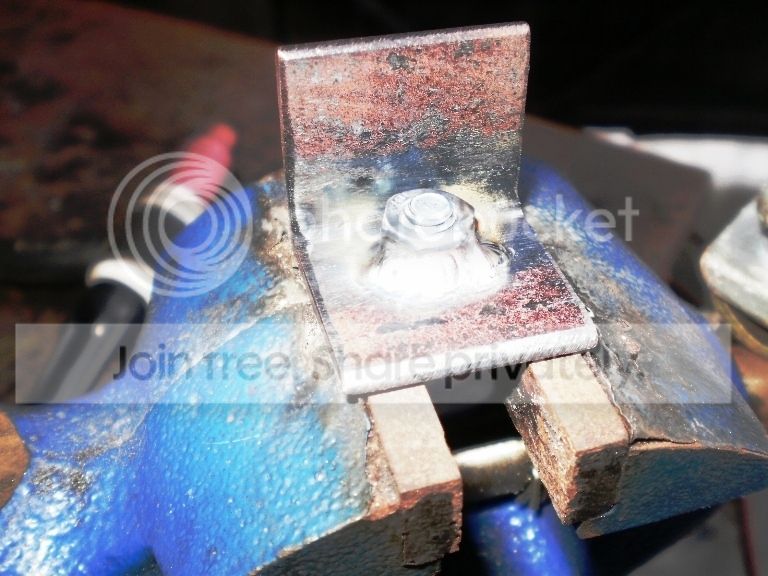
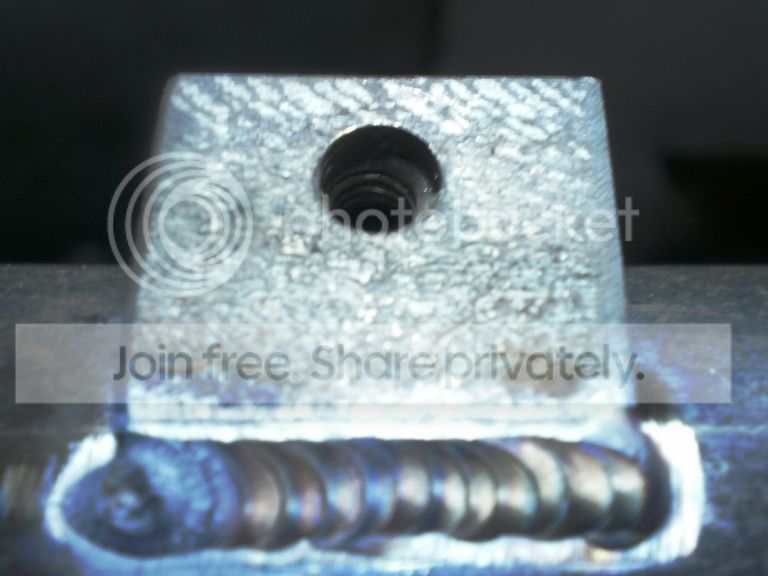
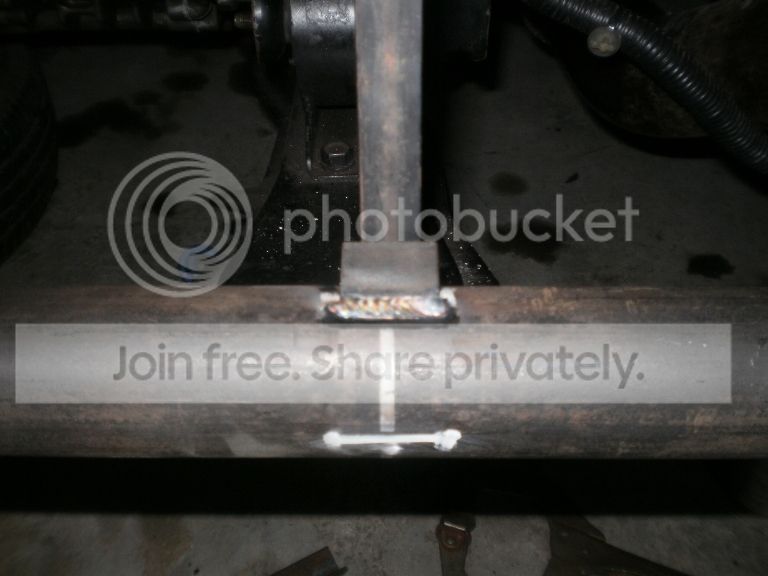
dont want thinkto much,i start to fabricate front frame..make its can open2 punya...huh tired,suffer
P1011104.jpg

P1011106.jpg

P1011107.jpg


P1011120.jpg


P1011122.jpg


P1011124.jpg


P1011125.jpg


P1011126.jpg


P1011128.jpg


P1011129.jpg


P1011131.jpg


P1011131.jpg


P1011138.jpg


P1011140.jpg


P1011143.jpg


P1011132.jpg


P1011133.jpg


P1011134.jpg


P1011147.jpg


P1011151.jpg


P1011155.jpg


P1011154.jpg


P1011158.jpg


P1011160.jpg


P1011161.jpg


P1011164.jpg


P1011165.jpg


P1011167.jpg


P1011169.jpg


P1011170.jpg


P1011171.jpg


P1011176.jpg


P1011177.jpg


P1011184.jpg


P1011182.jpg


P1011186.jpg


P1011205.jpg


krem..kreem...kreeem:sleep:
 
Last edited:
this header to much crack..thin S.stell can't hold turbo weight.turbo hot side oso seat near to W.pump pipe and blok.not cooking ker..:questionmark:lazy to go cut new flange so i cut this flange to use back..centre its and make holder..

cut1-1.jpg

cut2-1.jpg


set at disk cutter and tap..to hold it proper when cut
cut3-1.jpg


cut4-1.jpg


cut5-1.jpg


cut6-1.jpg

no 3 done..now the last one...need some weight to twist this pipe when cut..
cut7.jpg

Kautim...k.i.v-...
cut8.jpg


Rainy stop so can make out door activity now..hoye..better make jig for front bar now..get centre mark and bend mark..
cut10.jpg

draw at floor to check left and right get same radius or not
cut11.jpg

lariiiii....
cut12.jpg

fix its..then ok...can see my hand turn to green when bend the steal :biggrin:
cut13.jpg


look and see...
cut14.jpg


cut15.jpg


add some more steal to strengthen,for i can keep its.
cut17.jpg


cut16.jpg


cut18.jpg


waahh..long time rest ha..tomorrow need your help...day turn dark now..
cut19.jpg


settle left side breket mount..
cut20.jpg
 
Last edited:
Use waja 1.8 oil filter can help u settle ur oil filter problem..
nice mod and nice sharing :)

T.q...i thinks its use already...so small oil filter there..cant pull out,so close with exos pipe...owner say before this need to open exos pipe for replace new...waalauwei..who wants to do thats...

---------- Post added at 05:28 AM ---------- 6 hour anti-bump limit - Previous post was at 04:39 AM ----------

Bent machine problem..after troubleshoot its from switch...gets its new and no time to put its proper,just like this for temporary
bend1.jpg


make a centre line...use paint maker
bend2.jpg


this why i need to draw centre line...both side bent must level
bend3.jpg


First bent done...need to mark mould turn and check pipe bent with jig..
bend7.jpg


Second bent...cant see there are white line at centre mould..its came from pipe line when first bent and stick there...easy..
bend5.jpg


turn till reach to first bent mark
bend6.jpg


done..ok la kot...:biggrin:
bend8.jpg


cut end pipe and test how its look...
bend9.jpg


And now most important thing to doooo isssss:sleep:
 
Last edited:
thanks Danz for looking my built...come and share something....

Today try to settle centre top frame and bonnet lock...pics from other car for dummy...
P1041160.jpg


P1041164.jpg


Get centre line for top (lock) to bottom for breket link.
P1041166.jpg


Spot weld breket for bonnet lock
P1041168.jpg


P1051170.jpg


P1041167.jpg


Make frame link breket...
P1041162.jpg


P1051178.jpg


try fitting...
P1051181.jpg


P1051182.jpg


P1051183.jpg
 
fuh...that really is a lot of work...sallute...
 
THIS THREAD IS WORTH READINGG!!!!!!!!!! THUMBS UP! This type of people will bring up the motorsport industry to another level :)
 
A simple-in-theory mod, but takes a lot of hard work

congrats to your weight savings, less overheating issues and better structural rigidity!
 
A simple-in-theory mod, but takes a lot of hard work

congrats to your weight savings, less overheating issues and better structural rigidity!


Bro, I don't mean to be the rain in your parade, but this is considered as illegal mods....Anyway, as long as the owner happy, his money, his business.
 
people with ideas.

salute la bro...
:wavey:

fuh...that really is a lot of work...sallute...

THIS THREAD IS WORTH READINGG!!!!!!!!!! THUMBS UP! This type of people will bring up the motorsport industry to another level :)

A simple-in-theory mod, but takes a lot of hard work

congrats to your weight savings, less overheating issues and better structural rigidity!

TQ...all of u same laa...can see and have a brave to say like that...thats way we are here right?..:five::shakehands::beer::knuddel::rock:
 
but im sure his mods are more sturdy than factory ones.
 
Bro, I don't mean to be the rain in your parade, but this is considered as illegal mods....Anyway, as long as the owner happy, his money, his business.

yes u a right Bos..thats way till now we still need to tumpang soyuz to go space...right?:banghead::rock:

---------- Post added at 05:10 PM ---------- 6 hour anti-bump limit - Previous post was at 04:46 PM ----------

but im sure his mods are more sturdy than factory ones.

:idea::joyman::alberteinstein::knuddel: :thrasher::rock::beer::congrats::biggrin::adore: :star::top:
 
Not much thing can do today...only a small job for update...

make link bar to top frame...
P1061214.jpg


P1061215.jpg


P1061216.jpg


P1061217.jpg


Move the frame to max more in front coz owner want to pay more in pocket:biggrin:
P1061218.jpg


P1061220.jpg


P1061222.jpg


P1061221.jpg


Draw template for breket front lamp frame...
P1061223.jpg


P1061224.jpg


P1061225.jpg


P1061226.jpg


P1061227.jpg


P1061228.jpg


P1061229.jpg


Simple design hook for radiator seat bottom....
P1071232.jpg


its have rubber mounting at centre hole..forget to put there before take pics...
P1071233.jpg


P1071234.jpg


Now....:vroam:
 
Last edited:
Great job bro.

Nice practical thinking. Measure TWICE.. cut ONCE :wavey:

Need to get TIG set..
:banghead: :banghead:
 
dammm nice welding skill u got there bro....

keep us updated.. :adore:


btw...just from my view....maybe u need to make some cross-bracing for the front frame like this..just to make sure it can cope with the engine power.. :biggrin:

http://www.jwbr29544.pwp.blueyonder.co.uk/escort/images/frpanel_braced1.jpg
 
Last edited:
dammm nice welding skill u got there bro....

keep us updated.. :adore:


btw...just from my view....maybe u need to make some cross-bracing for the front frame like this..just to make sure it can cope with the engine power.. :biggrin:

thats is good idea man.... will see if there have a chance to make something like thats...:top:
 
Right lamp frame...

P1091262.jpg


P1091263.jpg


P1091266.jpg


P1091267.jpg


P1091269.jpg


P1091273.jpg


P1091274.jpg


Double side technique...
P1091277.jpg

over lap,weld then grind...
P1091282.jpg

Here its look...
P1091286.jpg


Round lamp frame...start with this holder lamp screw...
P1091284.jpg

Cut old frame...
P1091292.jpg


P1091293.jpg


P1091294.jpg
 
Last edited:

Similar threads

Posts refresh every 5 minutes


Search

Online now

Enjoying Zerotohundred?

Log-in for an ad-less experience